 English
 Español
 Português
 Deutsch
 한국어
 日本語
 Italiano
 Français
 العربية
 Türkçe

If you’re developing a trail running shirt for a hydration vest, start with the areas the vest covers. Use a smooth, stable knit where the straps sit, and look for ways to let moisture spread toward the parts of the shirt that still see air. A fabric that wicks well can still feel wet at the upper back when it sits under a loaded vest. The next sample should tell you whether changing the shirt helps, or whether the vest is doing most of the blocking.
This guide starts with the runner’s layers and works back to the knit. For the wider material selection question, see our guide to choosing moisture wicking yarn for athletic apparel.
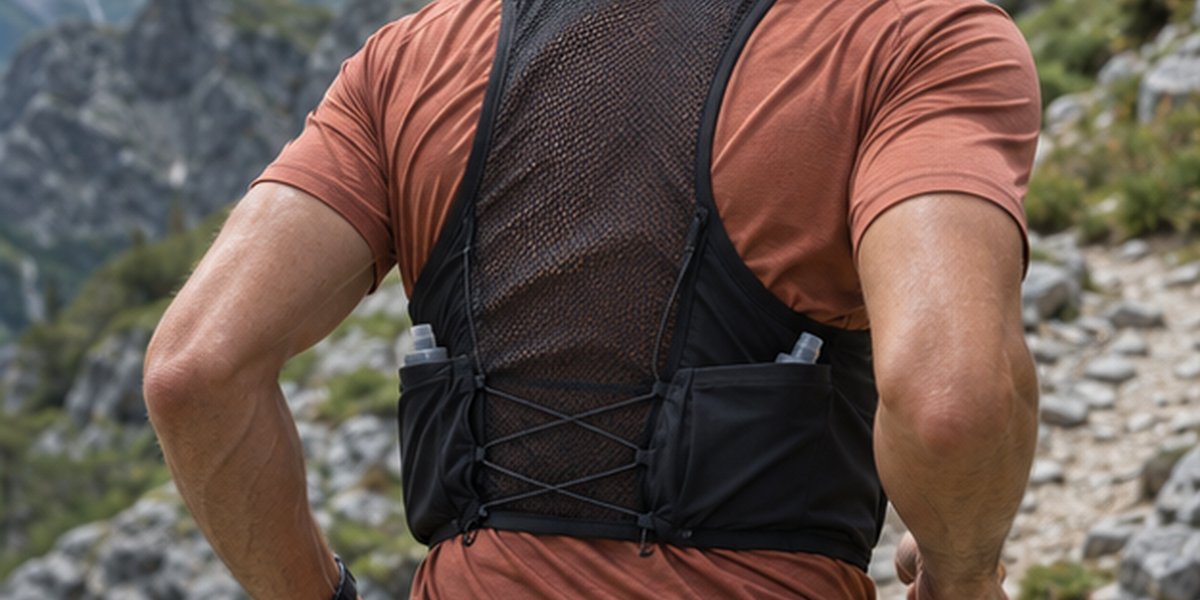
Why a trail running shirt stays wet under a hydration vest
On an open part of the shirt, sweat can spread across the knit and evaporate as air moves over it. Under the back of a vest, air has a narrower route out. Where the pack presses the shirt against the runner, the damp knit may also touch the vest liner. That adds another place for moisture to go. Changing the shirt yarn can change how quickly fluid spreads through the knit. How quickly it leaves the two layers still depends on air movement, the amount of moisture and the way those layers touch.
Trail gear makers already design around this problem. Orange Mud’s running apparel guidance describes how a shirt can bunch under a vest harness and hold moisture on long runs. For your next sample, use the actual vest and load to identify where the fabric sticks, folds or stays damp. The trouble spot may be smaller than the full back panel.
Find the edges of the contact zones
Put the loaded vest over the reference shirt and mark where it contacts the shoulders, upper back and side ribs. Check while the runner raises an arm, leans forward and rotates the torso. A seam just outside a strap when standing may slide underneath it on an uphill reach. A mesh panel that looks exposed on the pattern table might end up completely behind a pocket.
Draw the main contact zones on the pattern. Mark the narrow areas where the edges shift as the runner moves. If a side rib area remains exposed, it may be a better location for an open structure than the middle of the back. The shoulder may benefit more from a flatter knit with a seam placed away from the strap edge. Use the map to decide where changing texture will help and where it creates a new join under load.
Choose where to use mesh and where to keep jersey
A smooth jersey is a useful baseline beneath the harness. Its surface and stretch can be kept consistent across the shoulder so you can tell how much the seam position contributes to a rubbing spot. A fine athletic mesh is worth trying where the vest leaves the shirt open. An open knit can still deform or crease under load, so the most open construction may give you the least useful comparison under a strap.
Check the stretch and recovery of any proposed panel pair when damp. If a softer mesh moves farther than the jersey along their join, the seam can pull the adjacent panel into a fold. Keep the seam low in bulk and place it beyond the moving edge of the harness where you can. Consider a single fabric with relocated seams if the potential mesh zone is too narrow. You can remove a contact point without adding cutting and sewing operations.
Give the yarn a job you can evaluate
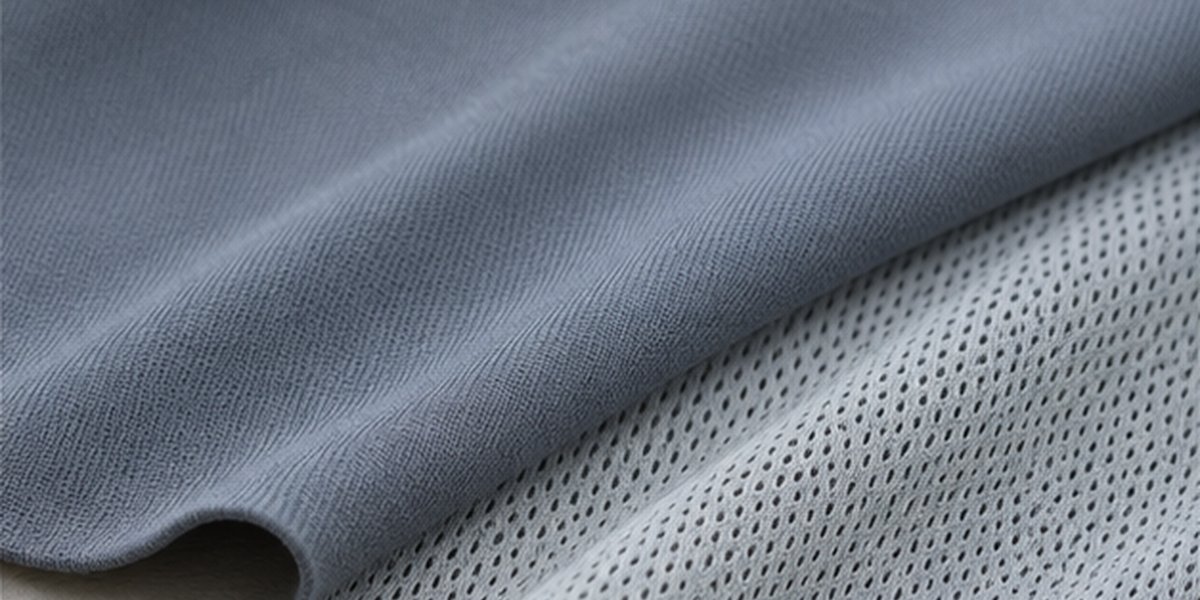
Start by deciding whether the next sample should change liquid spreading, drying or panel placement. If sweat remains concentrated in a small area of the knit, a different yarn or construction may help spread it. If two fabrics spread a similar amount of liquid and both stay damp only under the vest, changing placement or the layers in contact may tell you more than trying another yarn in the same garment.
8C microporous polyester filament yarn is a material route to discuss for this kind of knit. The corresponding 8C fabric gives you a possible reference swatch. Compare a candidate with the current jersey at similar construction and finishing where feasible. If one fabric is lighter or more open, mark that difference on the sample card. It may be a desirable change and still prevents you from attributing the result to the yarn alone.
Separate fabric performance from what happens under the vest
AATCC TM195-2011e2(2017)e5 characterizes liquid moisture management in a fabric specimen. AATCC TM201-2012 (2014)e3 measures fabric drying rate with a heated plate. Together they can help you compare the ways candidate knits handle a controlled amount of liquid and dry under specified conditions. Neither setup reproduces a loaded vest over a moving upper body. Agree which method and edition the laboratory will use and record the intended skin side of the sample.
Use a separate garment fitting and wear comparison. Hold vest fit, load, shirt size and the trial route or studio activity as close as possible. Note whether the covered shoulder, the center back and the exposed side differ. Observe folding at the straps and whether the vest liner itself becomes damp. Repeat at least one comparison with the order switched if you can. A hotter second outing can otherwise look like a difference between fabrics.
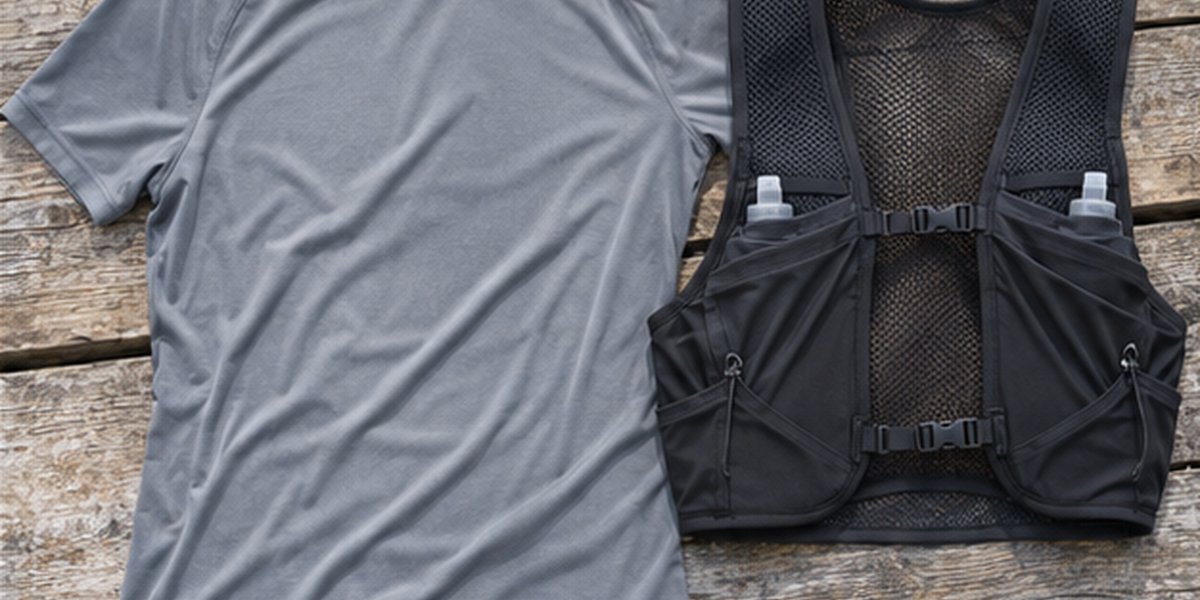
Plan two changes that answer different questions
| Prototype comparison | What to keep fixed | What it helps decide |
|---|---|---|
| Original jersey vs. comparable moisture management knit | Pattern, garment size, seam location and vest load | Whether the fabric change reduces local wetness or sticking |
| Uniform knit vs. the same knit with mesh in exposed zones | Contact-zone jersey and vest setup | Whether the exposed panel justifies the extra seam |
If the material comparison helps only where the shirt is exposed, try keeping the current fabric under the harness and using the new fabric only where the air reaches it. If both shirts bunch in the same place, adjust the pattern or seam before drawing a conclusion about moisture. Use the dry and damp fittings together so a change that feels good on the rack also works when the knit is wet.
Send a shirt brief that includes the vest
For your trail running shirt under a hydration vest, share the current knit or sample garment, the vest model and usual load, a contact map and the places you see wet cling. Add the proposed fabric weight and stretch range, care routine and intended running conditions. Send the shirt brief to Annie’s Smartex to discuss reference fabrics and a matched yarn trial.

Related Posts

Desert Trail Running Footwear – PCM Cooling Case Study
When “Cooling” Fabric Meets 60°C Sand: Why Passive Isn’t Always Enough The Challenge “We assumed a lightweight HDPE cooling fabric...

Ultra-Tough Trail Running Shoe
The Challenge “Create trail running shoes that survive extreme terrain without sacrificing breathability or adding weight.” A premium trail running...

Dual-Action Cooling Fabric Explained:How IcSnow® Keeps Athletes Coolin Running, Yoga & Beyond
Most cooling fabrics do one thing well. IcSnow® does two — at the same time, from the first rep to...
Far-Infrared Running Base Layer: Balancing Warmth and Sweat Management
A proposed two-route fabric development plan for a cool-weather far-infrared running base layer, comparing a 235 gsm winter-weight knit with...